In the process of building the sliding till for a tool chest (which was started by Chris Schwarz and will be auctioned off when I’m done with it to raise scholarship funds) I found that the cedar plank I set aside for the bottom panel of the till was plenty long enough, but about a half-inch too narrow.
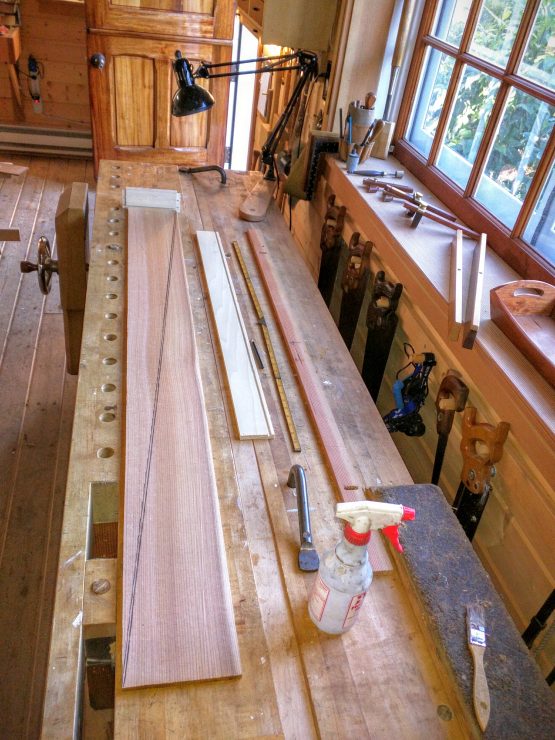
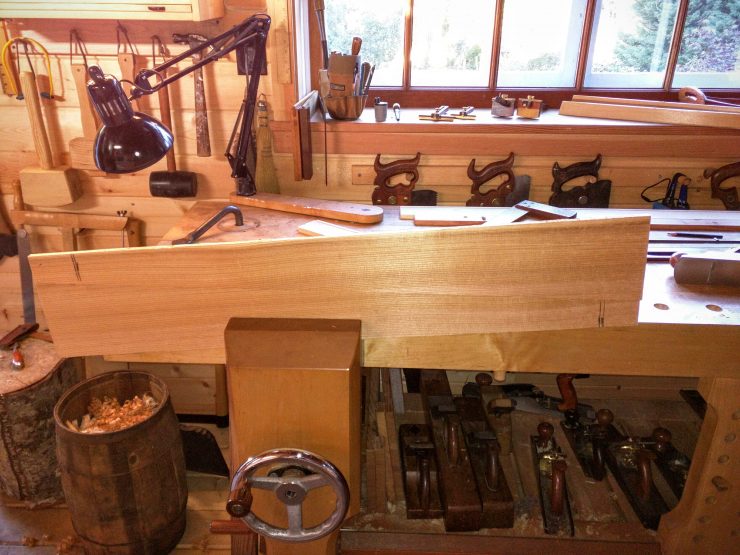
Rather than digging out another board—which would involve a trip out to the school’s lumber shed–I decided to employ the good ole board stretching trick. Drawing on the magic of geometry, I laid out a cutline from corner to corner.
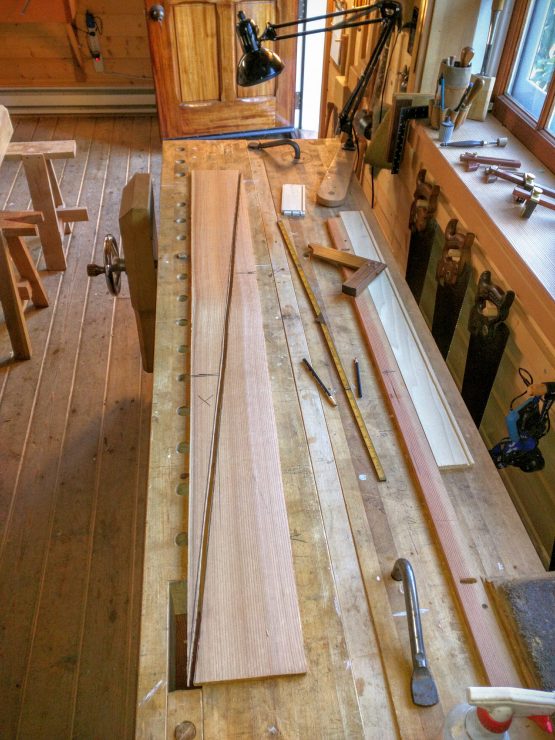
Then I hand ripped the board to create two like triangles.
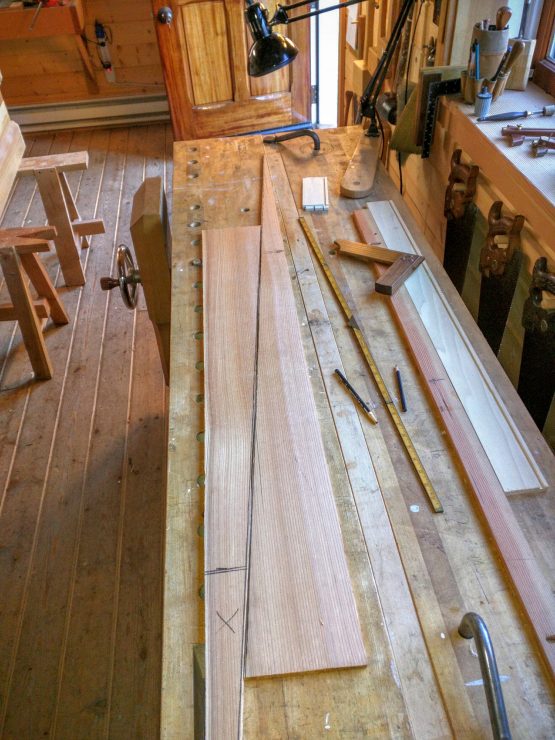
When I slip the two triangles past each other, the width of the combined triangles broadens while maintaining parallel edges.
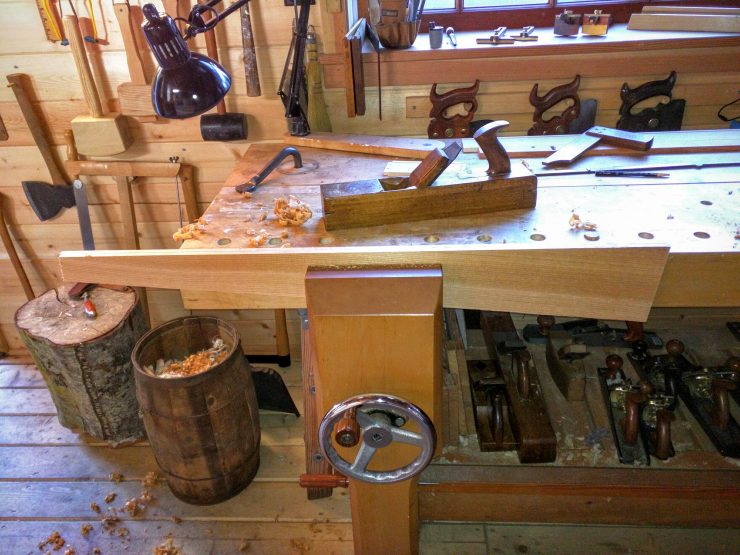
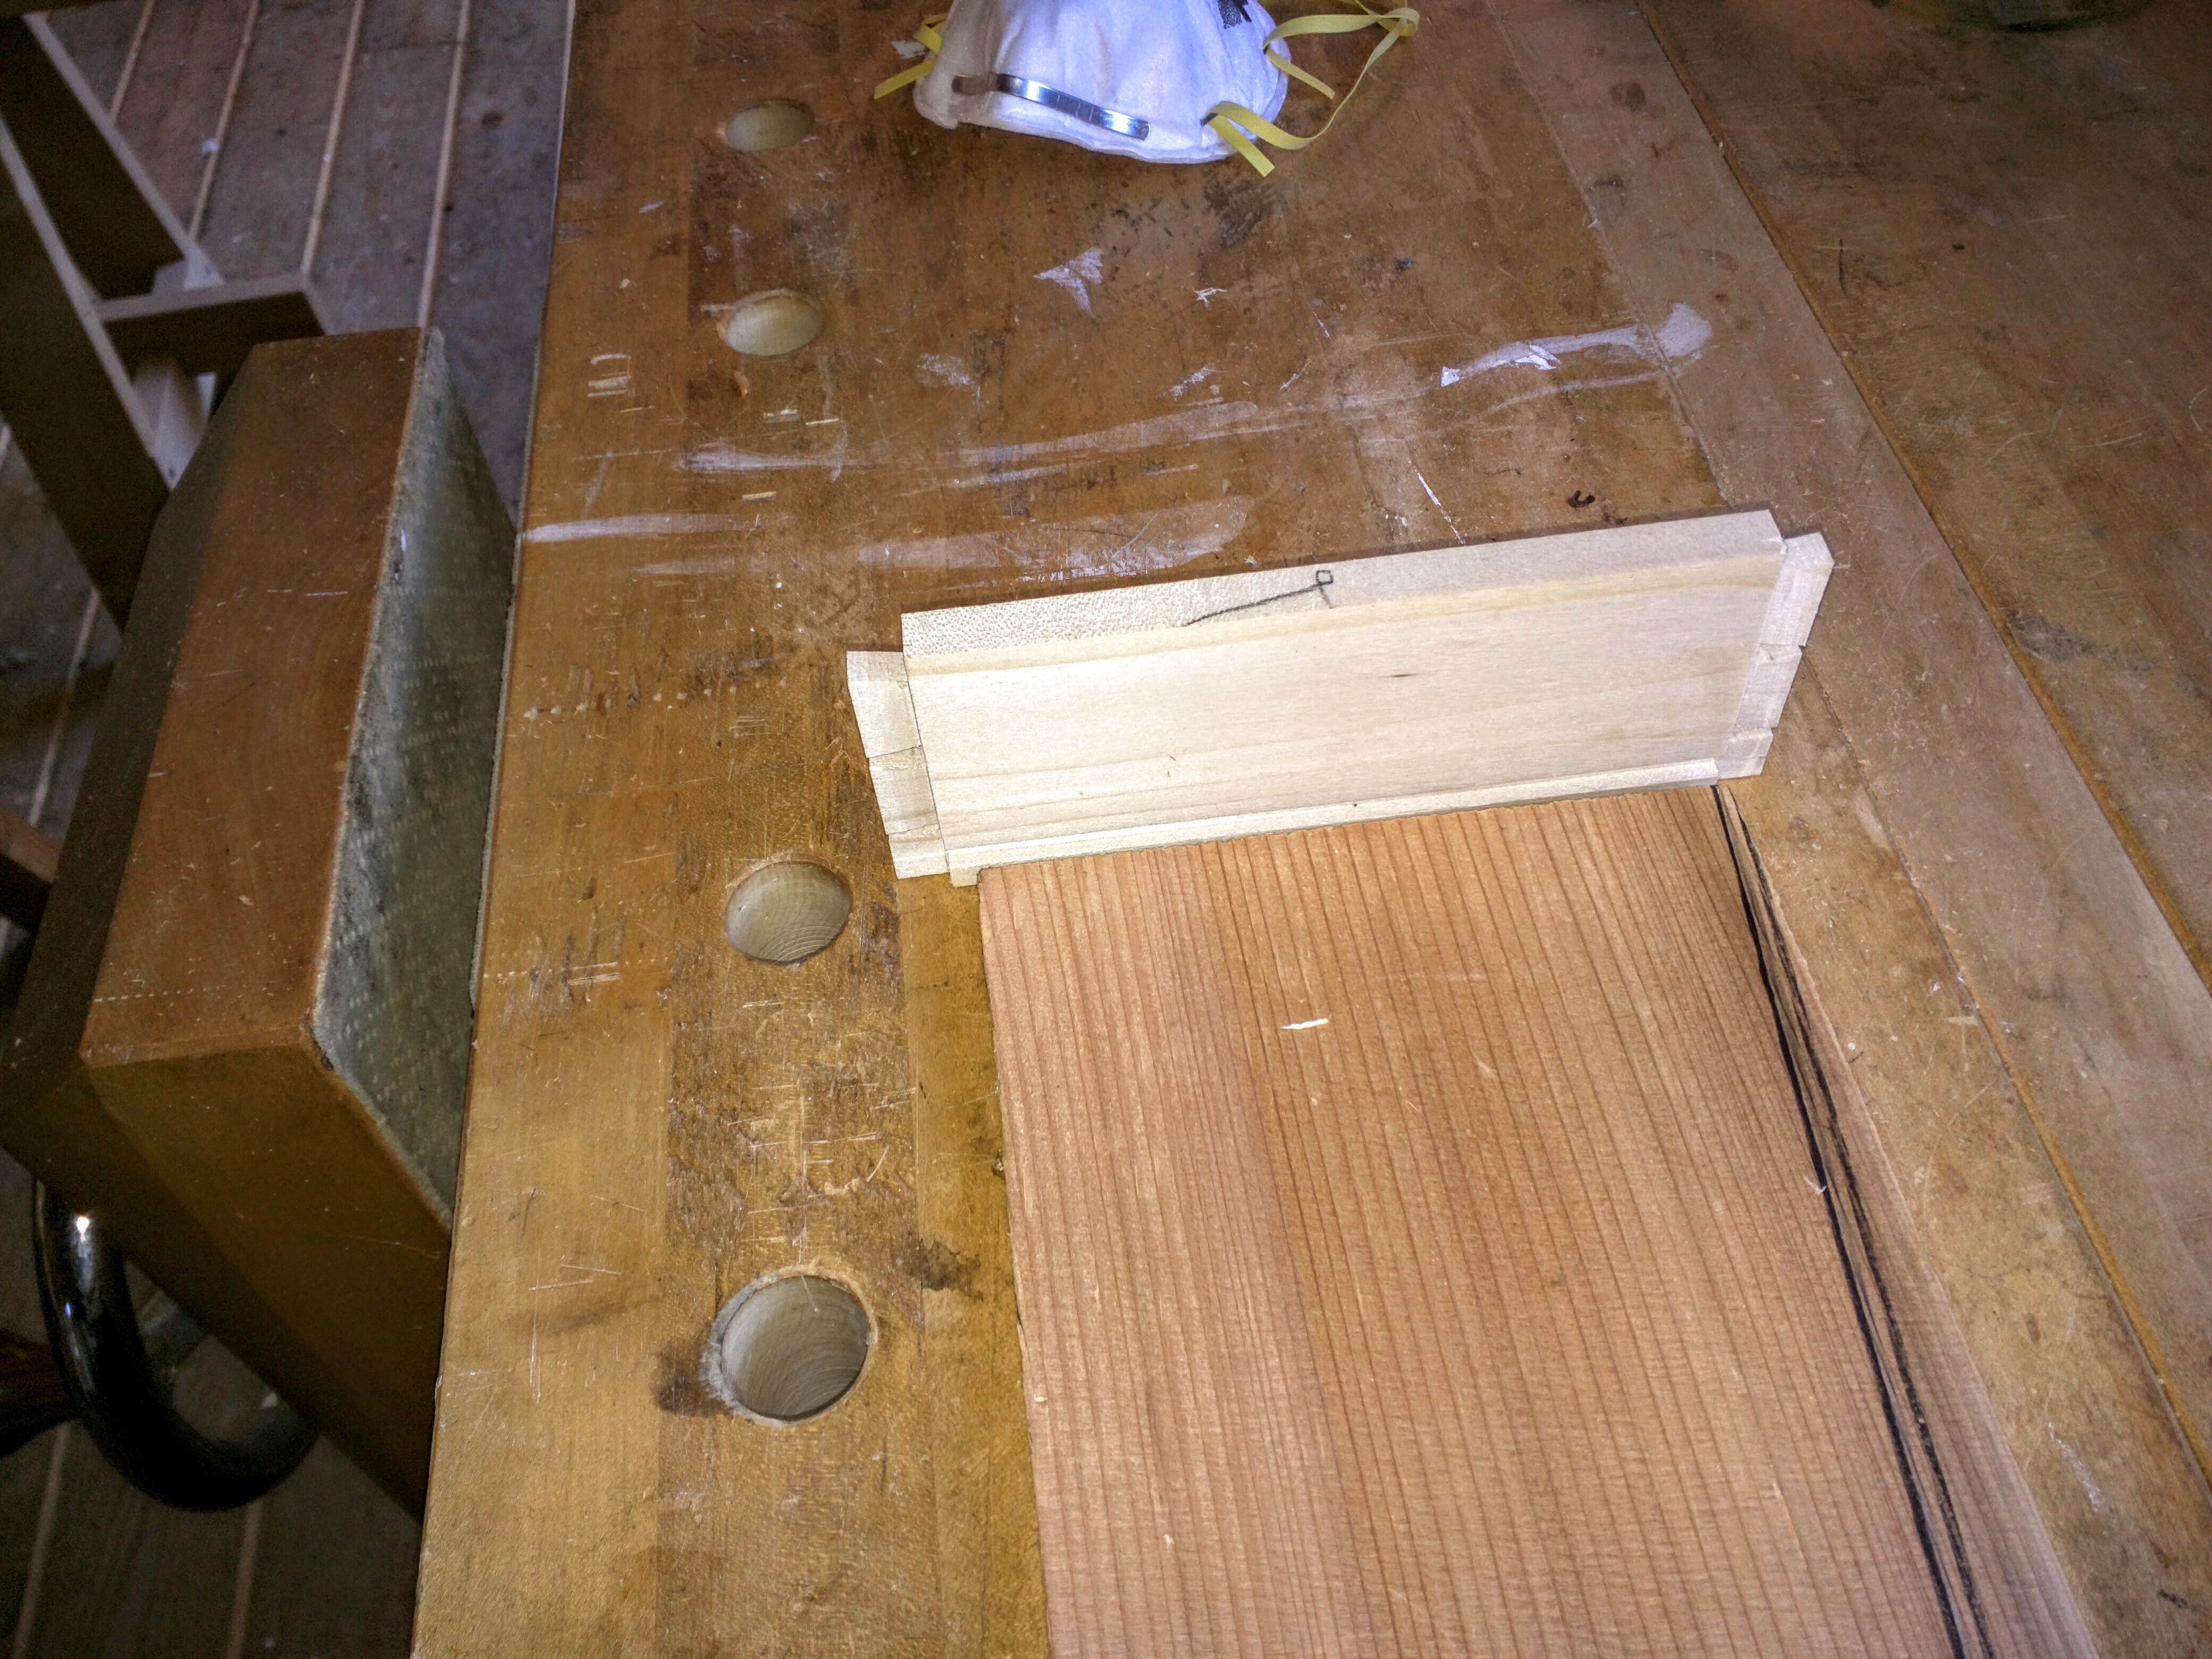
I then clamp the two triangle sections together in my shoulder vise and plane the sawn edges true–first with my trusty old wood-bodied foreplane, and then try and true it with my try plane.
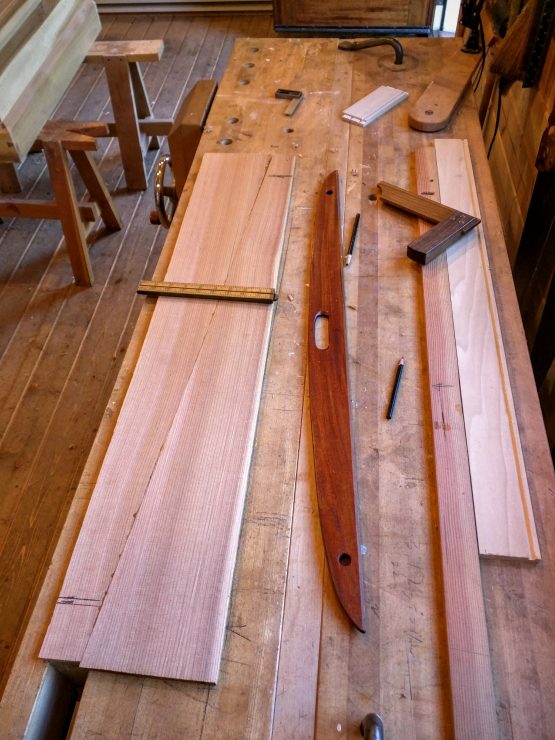
Next, I join the two pieces back together (slid past each other until I get the width I need (I cut off the extra length earlier). A little bit of hide glue rubbed along the edges (the old-school rub joint), set aside of a few hours and its secure. No clamps needed if you get the edges true to one another–and no you don’t need a “spring” joint. As you can see in the next photo, the board is now ready to be surfaced, then cut to final length and width. With careful alignment of the grain pattern the joint almost disappears. In this case the light-colored sap shows the offset. I’m not worried about appearances, though–this is just the bottom of a sliding til after all!



2 thoughts on “Old-School Board Stretching Trick”
PeteAron
Hi Jim,
Do you find that end grain to end grain connections hold better with hide glue vs. PVAs?
PA
Jim Tolpin
Both glues work fine in my experience. Since this particular glue line is at a long diagonal to the grain, this is mostly a side-to-side grain glue surface area which makes for a strong glue joint.